Private Label, White Label, Wholesale partnerships available - EU, USA and UK - Free shipping from €75

How to Set Up a Lab: Your Step-by-Step Guide
Learn how to set up a lab effectively with our step-by-step guide. Ensure compliance and budget control by following essential stages.
TL;DR:
- Setting up a lab involves a six-stage process focusing on purpose, budgeting, layout, procurement, commissioning, and launch. Proper planning prioritizes long-lead equipment, compliance, and validation to ensure a successful startup. Treat compliance as ongoing, and design workflows and layouts with safety and efficiency in mind to prevent delays and failures.
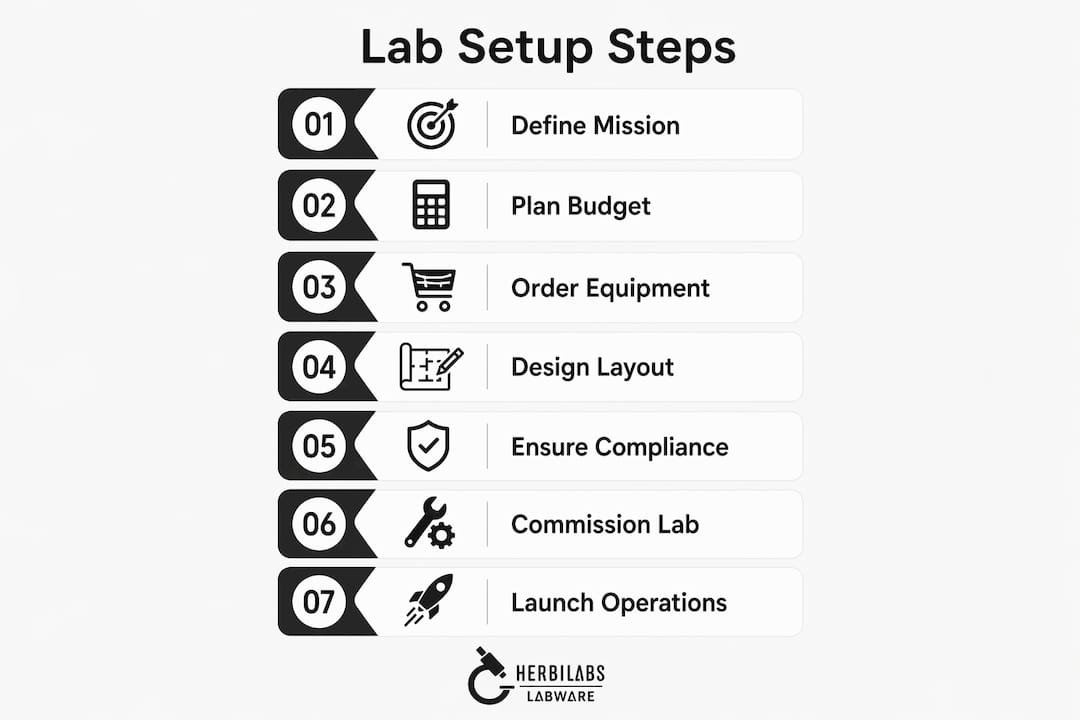
Setting up a lab is defined as the structured process of establishing a functional, compliant, and efficient research environment built around a clear scientific purpose. Done right, it follows a six-stage lifecycle: defining purpose, budget planning, layout design, procurement, commissioning, and launch. Skipping stages or reordering them is the most common reason new labs run over budget or fail their first compliance audit. This guide walks you through each stage, with specific attention to the Minimum Viable Laboratory (MVL) approach, long-lead equipment ordering, and regulatory requirements under CLIA, CAP, and COLA standards.
How do you define your lab’s purpose and plan the budget?
Every lab setup decision flows from one question: what does this lab need to do first? Defining your lab’s mission before touching a procurement catalog prevents the single most expensive mistake in lab founding, which is buying equipment for experiments you may never run.
Typical lab purposes fall into three categories: research and development, clinical diagnostics, and quality control. Each category drives completely different equipment lists, certification requirements, and spatial needs. A peptide research lab needs biosafety cabinets and cold storage. A clinical diagnostics lab needs CLIA certification and chain-of-custody documentation from day one.
Once your mission is clear, build your budget around the Minimum Viable Laboratory concept. The MVL approach works backward from your first planned experiment to identify only the assets you actually need to run it. This prevents overspending on instruments that sit idle for months.
Plan your budget across a 12–18 month operational window. That timeframe covers not just equipment purchases but also consumables, staffing, utilities, and compliance costs that many founders underestimate. Build in a contingency of at least 15–20% for unexpected lead time delays or regulatory fees.
- Write a one-paragraph lab mission statement before opening any vendor catalog.
- List the three experiments you will run in month one.
- Identify every instrument and consumable those experiments require.
- Price each item and separate one-time capital costs from recurring operational costs.
- Add compliance and certification fees as a separate budget line.
Pro Tip: Set a hard rule that no equipment gets ordered until it appears on the first-experiment list. This single constraint keeps MVL budgets on track better than any spreadsheet formula.
What essential equipment and supplies should you prioritize?
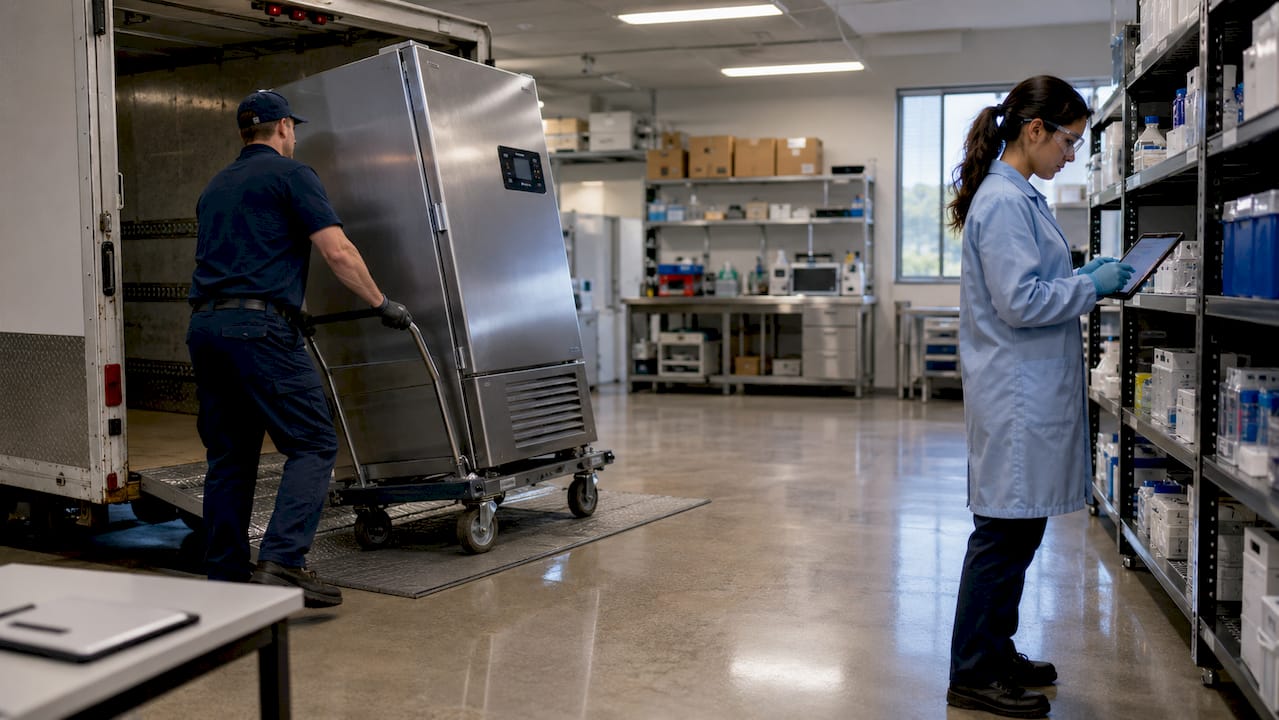
Equipment selection for a new lab follows a strict rule: order by lead time, not by excitement. The instruments you need most urgently are rarely the ones that arrive fastest.
Core equipment for most research labs includes:
- Ultra-low temperature freezers (typically operating at around -80°C) for biological sample storage
- Centrifuges for separating samples by density
- Biosafety cabinets for working with biological materials safely
- Pipettes and multichannel pipettors for accurate liquid handling
- Incubators for cell culture and microbial growth
- Thermal cyclers for PCR-based workflows
Lead times for freezers at the -80°C range run 6–8 weeks from order to delivery. That means ordering them the day you sign your lease, not the week before you plan to start experiments. Assuming “in stock” means “ships tomorrow” is a critical error that delays launches by weeks.
Build your equipment list with catalog numbers, supplier names, and confirmed lead times in a single shared document. This becomes your procurement tracker and your first inventory record.
| Equipment | Typical lead time | Priority order |
|---|---|---|
| -80°C freezer | 6–8 weeks | Order first |
| Biosafety cabinet | 3–5 weeks | Order second |
| Incubator | 2–4 weeks | Order third |
| Centrifuge | 1–3 weeks | Order fourth |
| Pipettes and tips | 1–2 weeks | Order fifth |
Check electrical requirements before finalizing any equipment order. A -80°C freezer may require a dedicated 20-amp circuit. Discovering that after delivery adds weeks and cost to your timeline.
For consumables like sterile diluents, reconstitution solutions, and reagents, research-grade suppliers reduce the risk of contamination that invalidates experiments. Cutting costs on consumables is the wrong place to save money in a startup lab.
Pro Tip: Start a cloud-based inventory spreadsheet on day one. Log every item with its catalog number, supplier, quantity, and expiration date. Digital tracking systems prevent the costly retroactive organization that plagues labs that wait until month three to start.
How to design your lab layout and organize workflows for safety and efficiency?
Lab layout design is not an interior design exercise. It is a compliance and safety decision that directly affects how fast your team works and how often accidents happen.
Divide your space into defined functional zones before placing a single piece of furniture:
- Wet lab zone for all liquid handling, chemical work, and biological assays
- Dry lab zone for data analysis, documentation, and computer workstations
- Cold storage zone positioned near but separate from active bench space
- Safety stations including eyewash stations, fire extinguishers, and first aid kits at required intervals
- Waste disposal stations placed at the point of waste generation, not across the room
Specimen and sample flow should move in one direction through the lab. Cross-contamination risk rises sharply when clean samples and waste streams share the same physical path. Sketch your workflow on paper before committing to bench placement.
Ergonomics reduce accidents more reliably than warning signs. Bench heights should match the primary user’s standing elbow height. Frequently used instruments belong within arm’s reach of the primary work area. Instruments used once a week belong on secondary benches or shelving.
Pro Tip: Walk through your planned workflow physically before any equipment arrives. Trace the path a sample takes from receipt to storage. Every unnecessary step you find on that walk is a future contamination risk or a future injury.
Emergency access is a layout requirement, not an afterthought. Biosafety cabinets, eyewash stations, and exit routes must remain unobstructed at all times. Many labs fail their first safety inspection because equipment was placed to maximize bench space rather than to maintain required clearances.
What compliance and safety measures must be in place from the start?
Compliance planning starts on the same day as budget planning. Labs that treat certification as a final step before opening routinely face delays of weeks or months.
- Identify your required certification level early. U.S. clinical and medical labs must choose between CLIA, CAP, and COLA certification, and each carries different documentation and oversight obligations. Research labs outside the clinical space still face EPA, OSHA, and institutional biosafety committee requirements.
- Plan specialized waste disposal before operations begin. Chemical, biological, and sharps waste each require separate disposal streams, labeled containers, and contracted disposal vendors. Proper lab waste disposal planning is mandatory, not optional.
- Designate a dedicated safety officer. Without a named safety officer, compliance responsibilities become diffuse and ineffective. This person owns the safety program, not just the safety binder.
- Write SOPs as you build workflows, not after. Real-time SOP documentation reduces training time and audit preparation time significantly compared to backfilling documentation later.
- Schedule your first internal audit before your first external inspection. Running a mock audit against your certification checklist reveals gaps while you still have time to fix them.
“Compliance is not a finish line. It is the operating condition of the lab from day one. Labs that treat it as a final step pay for that decision in delays, fines, and failed audits.”
Maintain training logs for every team member from the first day they enter the lab. Auditors ask for training records going back to the beginning of operations. A gap in those records is a finding, regardless of how well the lab performs on the day of inspection.
How to commission, validate, and launch your laboratory successfully?
Commissioning is the process of confirming that every installed system works as specified before any research begins. Validation confirms that your processes produce reproducible, reliable results. These are two separate steps, and skipping either one creates problems that surface at the worst possible time.
Follow this sequence for a clean launch:
- Commission utilities first. Confirm that electrical, plumbing, HVAC, and gas systems meet specifications before any equipment is installed.
- Install and qualify equipment. Run installation qualification (IQ) and operational qualification (OQ) protocols for each major instrument. Document every result.
- Validate key workflows. Run your first planned experiment with known controls. Confirm that results fall within expected ranges before using the workflow on real samples.
- Train all team members. Every person who will work in the lab completes documented training before their first unsupervised session.
- Conduct a pre-launch internal audit. Review all SOPs, training logs, waste disposal contracts, and equipment qualification records against your certification checklist.
- Launch with a limited scope. Start with one or two workflows. Expand only after those workflows are stable and documented.
Common startup delays include equipment arriving without proper installation support, reagents ordered without checking compatibility, and SOPs written for equipment the lab does not yet own. Avoid all three by coordinating with vendors early and treating them as partners in your launch timeline.
Set a 30-day and 90-day review checkpoint after launch. At each checkpoint, assess what is working, what is causing delays, and what documentation needs updating. Labs that build review cycles into their launch plan adapt faster than those that treat launch as the end of the setup process.
Key Takeaways
A successful lab setup requires defining your mission first, ordering long-lead equipment immediately, building compliance into the process from day one, and validating every workflow before research begins.
| Point | Details |
|---|---|
| Define purpose before purchasing | Write your lab mission statement before opening any vendor catalog to avoid costly equipment mistakes. |
| Use the MVL approach | Work backward from your first experiment to identify only the equipment and consumables you actually need. |
| Order by lead time | Long-lead items like -80°C freezers take 6–8 weeks; order them the day you sign your lease. |
| Compliance starts on day one | Identify CLIA, CAP, or COLA requirements early and designate a safety officer before operations begin. |
| Document in real time | Write SOPs and training logs as workflows develop to reduce audit preparation time and compliance gaps. |
What I have learned from watching labs get this wrong
The labs I have seen struggle most are not the ones that ran out of money. They are the ones that ran out of time because they ordered equipment in the wrong sequence or treated compliance as a closing task.
The MVL concept sounds obvious until you are standing in a vendor showroom and someone is demonstrating a piece of equipment that would be genuinely useful in six months. The discipline to say “not yet” is harder than it sounds, and it is the single most valuable habit a lab founder can build.
I have also watched labs designate a safety officer in name only, assigning the role to whoever had the least pushback in the room. That approach fails every time. The safety officer role needs authority, time, and direct access to leadership. Without those three things, the role is a title on an org chart, not a functioning compliance program.
One thing that consistently surprises new lab founders is how much vendor relationships matter. Lab supply vendors who specialize in startup labs know permit timelines, common delivery bottlenecks, and which equipment configurations cause installation problems. You do not need to be a logistics expert. You need to ask the right vendors the right questions early.
Finally, documentation written after the fact is always incomplete. The SOP you write three months after you built the workflow will miss the three workarounds your team developed in week two. Write it as you build it. That is the only version that reflects what actually happens in your lab.
— Ragnar
Herbilabs has the reagents your new lab needs
Building a new lab means making hundreds of procurement decisions under time pressure. Getting your reagents and reconstitution solutions right from the start protects every experiment that follows.
Herbilabs supplies research-grade bacteriostatic water, sterile diluents, and reconstitution solutions manufactured to strict purity standards for research institutions, universities, and independent researchers across the UK and Europe. Every product ships from a dedicated facility with rigorous quality control built in. If you are stocking a new lab and need reliable bacteriostatic water guidance, the Herbilabs FAQ covers storage, handling, and application in detail. For a broader look at the full product range, the Herbilabs shop offers secure ordering with wholesale pricing available for resellers and research professionals.
FAQ
What is the Minimum Viable Laboratory approach?
The MVL approach means working backward from your first planned experiment to identify only the equipment and consumables you need to run it. This prevents overspending on instruments that sit idle during the critical early months.
How long does it take to set up a lab?
Full lab setup from planning to launch typically spans 12–18 months when accounting for equipment lead times, compliance certification, and workflow validation. Rushing that timeline is the leading cause of failed first audits.
Which certifications does a U.S. lab need?
Clinical and medical labs in the U.S. must obtain CLIA certification at minimum, with CAP or COLA accreditation required for higher complexity testing. Research labs outside the clinical space still face OSHA and institutional biosafety committee requirements.
Why does equipment lead time matter so much?
Items like -80°C freezers take 6–8 weeks from order to delivery. Ordering them late pushes your entire launch timeline back by the same amount, delaying every experiment that depends on cold storage.
When should I start writing SOPs?
Write SOPs as you build each workflow, not after the lab is running. Real-time documentation captures the actual process your team follows and reduces both training time and audit preparation time compared to backfilling records later.