Private Label, White Label, Wholesale partnerships available - EU, USA and UK - Free shipping from €75
How to Ensure Sterile Injections: Safe Research Steps
Learn how to ensure sterile injections with essential steps for researchers. Protect your findings and health with our comprehensive guide!
TL;DR:
- Maintaining aseptic techniques with single-use devices is essential for safe peptide injections outside clinical settings to prevent contamination and study compromise. Independent researchers should focus on discipline and proper procedures—such as hand hygiene, disinfecting vials, and immediate disposal—over expensive equipment to minimize risks. Using high-quality materials like research-grade bacteriostatic water further enhances safety and reliability in home or private laboratory environments.
Contamination from a single injection can invalidate weeks of peptide research, trigger a serious infection, or permanently compromise your study data. For independent researchers and peptide users working outside clinical environments, the margin for error is thin and the consequences are real. This guide walks you through every stage of sterile injection practice: from understanding the core principles and assembling the right materials, to executing each step correctly and disposing of supplies safely. Follow these evidence-based steps and you will protect both your safety and the integrity of your results.
Table of Contents
- Understanding sterile and aseptic techniques
- Preparation: What you need for sterile injection
- Step-by-step: Performing a sterile injection
- Common mistakes and how to avoid them
- Verifying sterility and safe disposal
- What most guides miss: Practical minimums for private researchers
- Connect your practice to the right labware and resources
- Frequently asked questions
Key Takeaways
| Point | Details |
|---|---|
| Sterile technique matters | Understanding and applying sterile and aseptic methods directly impacts injection safety and the reliability of research results. |
| Preparation is essential | The right tools, materials, and workspace setup are foundational for preventing contamination during injections. |
| Follow step-by-step processes | A careful sequence of hand hygiene, equipment handling, and timely administration is critical for ensuring injection sterility. |
| Avoid reuse and delay | Using only single-use equipment and minimizing time between preparation and injection reduces microbial risk. |
| Verification and disposal complete safety | Final checks and thorough disposal protocols protect both researchers and subjects from cross-contamination. |
Understanding sterile and aseptic techniques
Now that the importance of sterile injections is clear, let’s start with the foundational principles that govern injection safety.
Most researchers use the words “sterile” and “aseptic” interchangeably, but they describe meaningfully different standards. Understanding the distinction stops you from applying the wrong level of precaution for your context.
Aseptic technique prevents microorganism transfer through defined procedural controls, while sterile technique is the more stringent approach reserved for surgical and ultra-invasive settings. In practice, independent researchers and home peptide users are operating in the aseptic space, not the sterile one. That is not a shortcut — it is the correct standard for the task.
Here is a practical comparison to orient your workflow:
| Feature | Sterile technique | Aseptic technique |
|---|---|---|
| Typical setting | Operating theater, sterile manufacturing | Lab, home research, clinical ward |
| Required equipment | Autoclave, laminar flow hood, sterile gowning | Gloves, clean area, sterile packaging |
| Realistic for home/lab? | No | Yes, with discipline |
| Main goal | Total absence of microorganisms | Prevent contamination during procedure |
For most peptide reconstitution and injection workflows, aseptic technique is both necessary and sufficient. You can review sterile preparation steps and sterile lab techniques for applied examples specific to research contexts.
What makes aseptic technique effective is strict adherence to its principles, not expensive equipment. The key principles are:
- Never touch anything that must remain sterile
- Work with sterile items only in their designated zone
- Minimize time that sterile surfaces are exposed to open air
- Replace any item if sterility is doubted, not questioned later
“Sterility is not binary in practice. The goal for independent researchers is not zero risk — it is risk reduction to a level that protects the subject and the data.” This is especially true when sterilization practices designed for clinical infrastructure are applied outside hospital settings.
The honest takeaway: you will never perfectly replicate a pharmacy aseptic unit in a home lab. But following aseptic principles consistently puts you in a far safer category than those who skip or improvise.
Preparation: What you need for sterile injection
With the principles clarified, it’s time to assemble what you’ll need and set up your space before any actual injection preparation.
Good sterile practice starts well before the needle touches a vial. Your materials, your space, and your mental checklist all determine the outcome. Safe injection practice hinges on a sterile device, aseptic technique, and immediate disposal — any single breach makes the entire process unsafe.
Required materials checklist:
- Sterile single-use syringes (appropriate gauge and volume)
- Single-use needles (never reuse between vials or subjects)
- Alcohol swabs (70% isopropyl minimum)
- Sterile bacteriostatic water or sterile diluent
- Sharps disposal container (rigid, puncture-resistant)
- Nitrile exam gloves (non-sterile is acceptable for aseptic work)
- A clean, flat, wipeable preparation surface
- Sterile gauze or cotton if needed post-injection
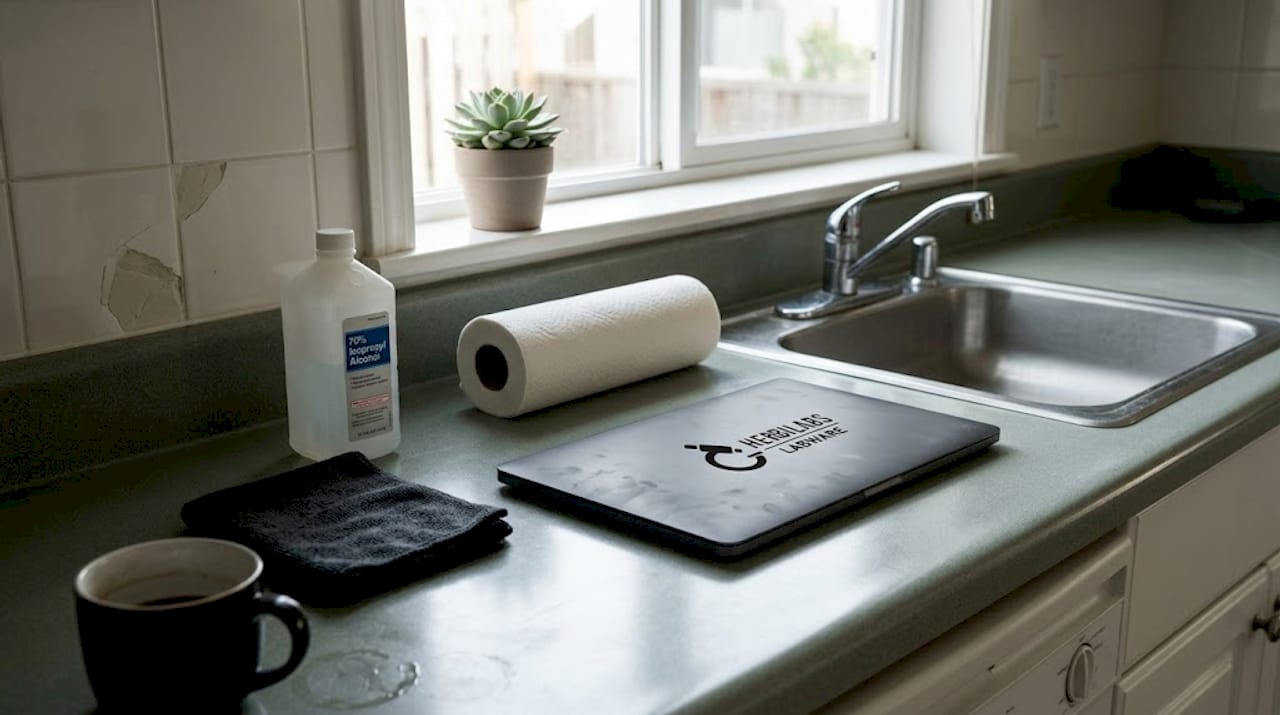
What “clean” actually means for your prep area:
A clean workspace is not just visually tidy. It means a surface that has been disinfected with 70% isopropyl alcohol and allowed to air dry, in a low-traffic room with minimal air movement. Avoid ventilation fans pointed at your prep area, open windows, or anyone moving behind you during preparation. The best workflow guide from Herbilabs covers the sequencing of these steps in detail.
Controlling the preparation location is critical: if risks cannot be adequately mitigated, preparation should occur in a pharmacy aseptic unit, or the residual risks must be formally accepted and documented. For private researchers, this means honestly assessing your environment rather than assuming it is clean enough.
| Prep area factor | Acceptable | Not acceptable |
|---|---|---|
| Surface | Disinfected, non-porous | Wood, fabric, shared desk |
| Airflow | Still, controlled | Near fan/window/AC unit |
| Foot traffic | None during prep | High traffic room |
| Lighting | Good visibility | Dim or indirect |
Pro Tip: Always open sterile packaging immediately before use, not in advance. Pre-opened sterile items left on a surface — even for a few minutes — lose their sterility assurance. Prepare one thing at a time and use it immediately.
The lab sterilization tips resource is particularly useful if you are scaling from single vials to multi-dose research sessions and need to systematize your setup.
Step-by-step: Performing a sterile injection
Once all tools and your workspace are ready, follow these detailed steps to carry out a truly sterile injection.
Consistent sequencing is the difference between disciplined aseptic practice and guesswork. ANTT (Aseptic Non-Touch Technique) is the NHS-endorsed framework for injectable medicines and directly applies to peptide reconstitution and injection workflows. It structures work around protecting “key parts” — the areas that, if touched or contaminated, compromise the entire procedure.
The core contamination control steps include hand hygiene, preparing doses in a clean designated area, disinfecting vial septa, using single-use needles and syringes, and keeping sterile items in their packaging until the moment of use.
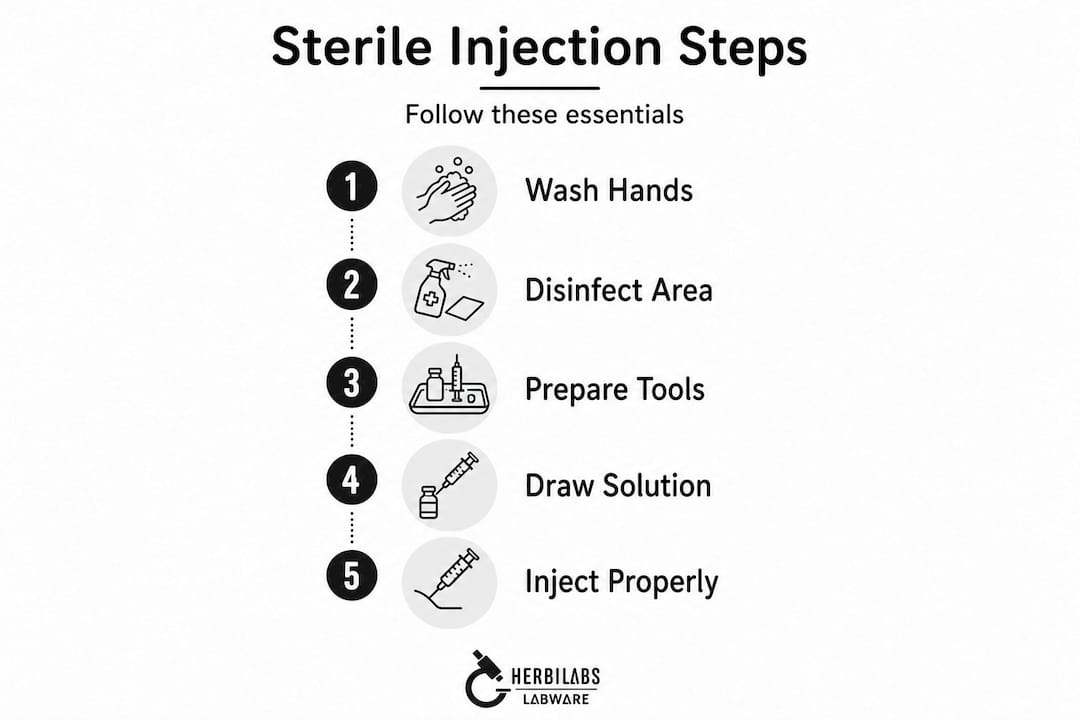
Step-by-step injection procedure:
- Wash hands thoroughly with soap and water for at least 20 seconds. Dry with a clean, disposable towel.
- Put on nitrile gloves. Even gloved hands should avoid touching key parts (needle, vial septum, syringe tip).
- Disinfect the vial septum with a fresh alcohol swab. Allow it to dry completely — at least 30 seconds. Do not blow on it or fan it dry.
- Open syringe packaging immediately before drawing. Do not set it down uncapped.
- Draw your diluent (bacteriostatic water or sterile water) into the syringe without touching the needle shaft.
- Inject the diluent into the peptide vial slowly, aiming at the glass wall rather than directly onto the powder to avoid foaming.
- Gently swirl (do not shake) to dissolve. Verify the solution is clear before proceeding.
- Draw the reconstituted solution into a fresh syringe with a new needle. Never use the same needle you used to add diluent.
- Inspect the final solution for particulates, cloudiness, or color changes. Discard if anything is unusual.
- Administer immediately. Time between preparation and injection should be minimized.
Pro Tip: Every minute between reconstitution and injection is a window for microbial growth. Work with safe peptide water and administer within the shortest practical timeframe. For longer sessions, use bacteriostatic water which provides a 0.9% benzyl alcohol preservative to slow microbial growth between doses.
Also check trigger point injection tips for technique nuances if your research involves subcutaneous or intramuscular administration — site preparation and angle matter for both safety and absorption.
Critical pre-injection checks:
- Is the vial within date and visually intact?
- Is packaging on every device unbroken until the moment of use?
- Is the reconstituted solution clear and free of particulates?
- Is your prep surface still clean and uncontaminated?
Skipping these checks, especially under time pressure, accounts for a significant portion of injection-related adverse events in research settings.
Common mistakes and how to avoid them
Even with good intentions, small mistakes can compromise injection safety. Here’s what to watch out for and how to overcome the most common pitfalls.
The most dangerous mistakes are not dramatic errors. They are the small, habitual shortcuts that accumulate risk over time without triggering an obvious alarm.
Needle and syringe reuse is the most consequential mistake in this category. WHO strongly recommends auto-disable syringes because they physically cannot be reused, making them the lowest-risk option for preventing person-to-person transmission of blood-borne pathogens. WHO’s own assessments show that evidence of syringe reuse is widespread, and reuse poses a high and entirely preventable risk. There is no research scenario where reusing a syringe or needle is the right choice.
“For private users, including peptide users, the safest strategy is not to attempt sterile manufacturing at home — it is to follow public health and clinical principles that primarily reduce contamination opportunities.” This framing from NHS Specialist Pharmacy guidance is worth keeping in mind whenever you feel tempted to improvise.
Common mistakes and corrections:
- Reusing needles between draws: Each pass through a septum dulls the needle and transfers microorganisms. Use a fresh needle every time. See how to safely manage BAC water vials to understand which components can be reused and which cannot.
- Letting reconstituted solution sit: Leaving prepared solution at room temperature for hours dramatically increases microbial load. Refrigerate immediately and use within the recommended window.
- Skipping alcohol swab dry time: Injecting through a still-wet septum pushes isopropyl alcohol into the solution. Always allow the full 30 seconds of dry time.
- Preparing in a busy space: Even brief air disturbance from someone walking past a prep area deposits particles on exposed sterile surfaces. Work in a calm, controlled environment.
- Touching gloves to non-sterile surfaces then back to the prep area: Gloves are not sterile armor. They can carry contamination from the moment you touch anything outside your clean zone.
If you are managing multi-dose vials, understanding bacteriostatic water reuse correctly will help you distinguish safe multi-draw practice from actual contamination risk.
Verifying sterility and safe disposal
After the injection, confirming proper procedure and handling disposal is the last step to securing a truly sterile process.
Post-injection steps are frequently underestimated. Verification and disposal are not cleanup tasks — they are the final layer of protection for both the researcher and the environment.
Post-injection verification checklist:
- Was every key part (needle tip, syringe hub, vial septum) protected throughout?
- Were all items single-use and from intact, in-date packaging?
- Was the solution visually clear at all stages?
- Were gloves changed or hands disinfected between vials?
- Was the prep surface cleaned before and after?
“Any breach in the process makes injections unsafe.” Safe injection practices are only as strong as their weakest step — verification closes that loop by making you accountable to every action taken.
Aseptic technique guidance confirms that infection prevention depends on maintaining sterile fields and equipment throughout the procedure, including the correct handling and disposal of PPE and gloves post-use.
Safe disposal protocol:
- Immediately cap and dispose of needles in a rigid sharps container. Never recap by holding the cap in your free hand.
- Discard used syringes in the same sharps container — do not separate.
- Seal and dispose of sharps containers according to local regulations. In the UK and EU, most pharmacies and GP practices accept sharps containers for disposal.
- Gloves go directly into household waste. Avoid touching your face or other surfaces before removal.
Lab record-keeping:
For formal research contexts, documenting each injection session is not optional. Your records should note the diluent batch, vial lot number, prep date and time, storage conditions, and any observed deviations from protocol. This documentation protects you if results are questioned and supports reproducibility, which is the foundation of credible independent research.
What most guides miss: Practical minimums for private researchers
Most guides on injection sterility are written for clinical nurses or hospital pharmacists. They assume a laminar flow hood is nearby, a trained colleague is checking your work, and formal audit trails are in place. That is not the reality for the vast majority of European peptide researchers working from a home lab or private facility.
The temptation is to either copy clinical protocols exactly — which is genuinely impossible without the infrastructure — or dismiss the guidance entirely because it does not seem to apply. Both responses miss the real opportunity.
What actually matters for the independent researcher is layering the steps that deliver the most protection with the equipment you realistically have. Single-use devices are non-negotiable. A clean, still prep area with a disinfected surface is achievable in almost any setting. Correct hand hygiene takes 20 seconds and costs nothing. Timing your injections immediately after reconstitution is a habit, not a resource requirement.
The uncomfortable truth is that most contamination events in private research do not come from unavoidable environmental exposure. They come from reusing a needle “just this once,” or preparing in a kitchen while someone cooks nearby, or skipping the vial swab because it feels unnecessary. These are behavioral failures, not equipment failures.
Pro Tip: If you cannot replicate clinical sterility, focus entirely on cutting contamination risk through strict adherence to aseptic basics. You do not need a cleanroom. You need discipline, essential sterile techniques, and quality materials every single time.
The researchers who have the fewest problems are not the ones with the most equipment. They are the ones who treat every injection as if the protocol actually matters — because it does.
Connect your practice to the right labware and resources
When you’ve mastered sterile injection principles, accessing the right resources makes it much easier to sustain best practices.
Reliable sterile injection practice depends as much on the quality of your materials as it does on technique. Substandard diluents, low-grade bacteriostatic water, or poorly labeled reagents introduce risks that no amount of procedural discipline can fully offset.

At Herbilabs, we supply research-grade bacteriostatic water and sterile diluents manufactured to strict purity standards specifically for researchers and private users across the UK and Europe. If you want a solid grounding on what your diluent is and how it works, the bacteriostatic water guide is a practical starting point. Not sure which solution fits your protocol? The bacteriostatic vs sterile water comparison will help you choose correctly. When you’re ready to source your materials, the Herbilabs shop carries everything you need to run a clean, safe injection workflow.
Frequently asked questions
Can I achieve clinical-grade sterility at home?
No — clinical-grade sterility is not possible outside specialized units, but risks can be mitigated significantly with aseptic technique and single-use equipment in a controlled home environment.
How long after reconstitution should injection occur?
Ideally, inject immediately after reconstitution; infusion should start immediately and be completed within 24 hours of preparation to limit microbial risk.
What is the safest syringe type for injections?
Auto-disable syringes are WHO-recommended because they physically cannot be reused and carry the lowest risk of pathogen transmission between doses.
What steps are most critical for contamination control?
Hand hygiene, single-use needles and syringes, a disinfected prep area, and disinfecting vial septa before every draw are the four non-negotiable steps in any safe injection workflow.
Should I always discard leftover injection materials?
Yes — any breach in disposal protocol dramatically increases infection risk; all needles, syringes, and opened materials must be safely discarded immediately after each use.