Private Label, White Label, Wholesale partnerships available - EU, USA and UK - Free shipping from €75
How to Avoid Lab Contamination: 5 Steps for Peptide Research
Learn how to prevent lab contamination in peptide research with proven aseptic techniques, essential tools, and step-by-step protocols for independent researchers in Europe.
TL;DR:
- Airborne microbes cause most lab contamination and are best controlled with biosafety cabinets or laminar flow hoods.
- Strict aseptic techniques and proper workspace setup significantly reduce contamination risks in peptide research.
- Using research-grade materials, validated labware, and routine verification ensures reliable, contamination-free results.
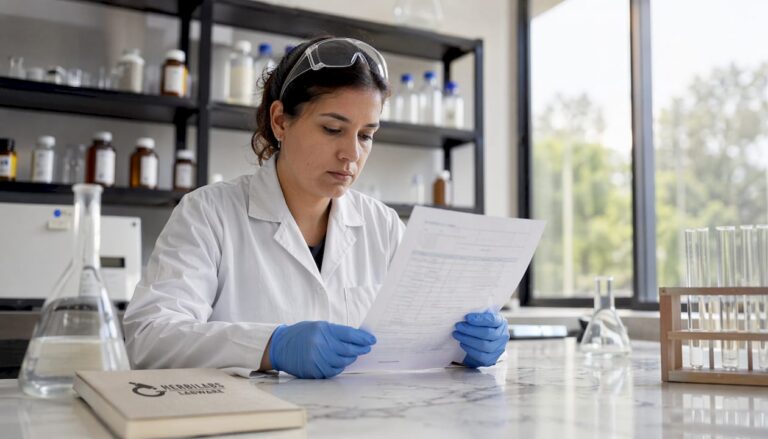
A single contaminant introduced at the wrong moment can invalidate months of peptide research and destroy expensive reagents without any obvious sign until your results stop making sense. Independent researchers in Europe face this challenge without the institutional safety nets that university labs take for granted: no dedicated biosafety officer, no automatic equipment checks, no backup team to catch procedural slips. This guide gives you a clear, evidence-based checklist covering the most common contamination pathways, the tools that actually matter, a step-by-step aseptic workflow, and verification methods specifically adapted for peptide work in small or solo lab settings.
Table of Contents
- Understand contamination risks and sources
- Essential tools and preparation for contamination control
- Step-by-step sterile techniques every lab must follow
- Troubleshooting, verification, and special precautions for peptide labs
- Why most contamination advice misses independent lab realities
- Get reliable labware for contamination-free research
- Frequently asked questions
Key Takeaways
| Point | Details |
|---|---|
| Air and surfaces matter most | Most contamination comes from airborne and surface sources, so focus cleaning efforts there. |
| Aseptic skills reduce risk | Strict aseptic techniques and PPE can reduce contamination rates to below 3%. |
| Quality reagents essential | High-purity reagents and single-use labware help prevent artifacts in peptide research. |
| Verify and troubleshoot quickly | Using negative controls and monitoring for signs of contamination keeps results reliable. |
Understand contamination risks and sources
Before you can control contamination, you need to know where it actually comes from. Most researchers instinctively worry about the wrong things, focusing on dramatic failures like broken vials while overlooking the slow, invisible threats that cause the majority of problems.
Airborne microbes cause 56-72% of lab contaminations, surfaces account for 18-25%, and human contact contributes 10-15%. That ranking matters because it tells you where to spend your energy first. Open bench work in a room with normal air circulation is a contamination event waiting to happen, especially for peptide samples.
The four main pathways to understand are:
- Airborne particles: Dust, fungal spores, and microbial aerosols settle into open vials, pipette tips, and reagent containers within minutes of exposure.
- Surface residues: Benchtops, equipment handles, and shared instruments carry cross-contamination between samples and sessions.
- Human error: Talking over open samples, touching sterile surfaces with bare hands, and skipping glove changes between batches are the most common human-linked failures.
- Reagent impurity: Substandard diluents, non-sterile water, or improperly stored reagents introduce contaminants before your experiment even starts.
Peptide work sits in a particularly vulnerable category. Low-biomass samples have almost no buffer against trace contamination. A small amount of foreign material that a robust cell culture might tolerate can completely distort peptide assay results, producing false positives or masking real activity. You can learn more about contamination control for peptide labs and how these risks translate into specific lab decisions.
| Contamination source | Percentage of cases | Primary control method |
|---|---|---|
| Airborne microbes | 56-72% | BSC or laminar flow hood |
| Surface residues | 18-25% | Disinfection protocols |
| Human contact | 10-15% | PPE and technique discipline |
| Reagent impurity | Variable | Certified pure reagents |
Researchers quantifying lab contamination in sequencing assays have found that even trace-level environmental exposure can skew low-input experiments in ways that are nearly impossible to detect without rigorous controls. The lesson for peptide users is clear: treat every open container as a contamination risk, not just the ones you are actively pipetting from.
With the risks understood, securing the right tools and materials is the next crucial step.
Essential tools and preparation for contamination control
Good technique cannot compensate for bad equipment. If your workspace is not set up correctly before you start, you are already behind. The goal here is to eliminate as many contamination opportunities as possible before you open a single vial.
Aseptic techniques including PPE use and working in a biosafety cabinet drop contamination rates from 15-20% to below 3%. That is not a marginal improvement. It is the difference between reliable data and wasted experiments.
Here is what your workspace and supply list should include:
- Biosafety cabinet (BSC) or portable laminar flow hood: This is your single highest-impact investment. Even a compact laminar flow unit dramatically reduces airborne exposure during sample handling.
- 70% isopropyl alcohol (IPA): The standard surface and instrument disinfectant. Higher concentrations are actually less effective because they evaporate too fast to denature proteins properly.
- Sterile, single-use pipette tips and disposable gloves: Reusing either defeats the purpose of aseptic technique entirely.
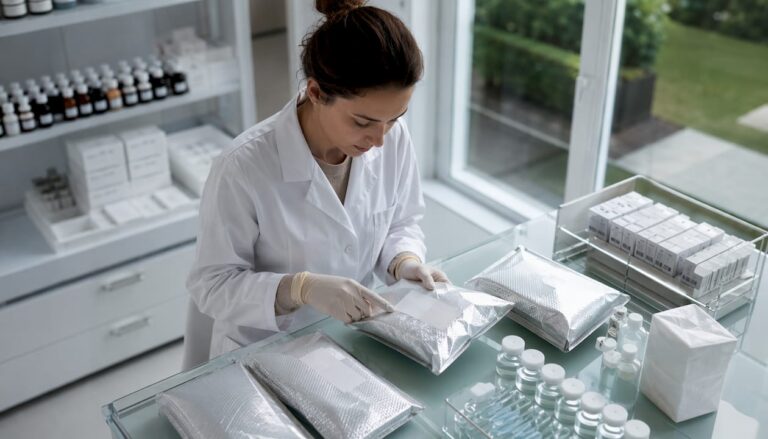
- Single-use vials and sealed containers: Aliquot your peptide solutions into small volumes so each vial is opened once and discarded.
- Dedicated clean zone: Mark off a specific area of your bench that is only used for sterile work. Nothing else goes there.
| Tool | Purpose | Replacement frequency |
|---|---|---|
| Nitrile gloves | Barrier against human contamination | Every batch or after any contact |
| Pipette tips (sterile) | Prevent cross-contamination | Single use only |
| IPA wipes/spray | Surface disinfection | Before and after each session |
| Single-use vials | Eliminate repeated exposure | One vial per use |
Pro Tip: Prepare aliquots of your peptide solutions in volumes matched to a single experiment. Repeated freeze-thaw cycles and repeated vial openings are two of the most overlooked contamination vectors in small labs.
For a detailed breakdown of what to stock, the guide on essential labware for peptides covers specific product types that meet research-grade standards. You can also find practical lab sterilization tips for maintaining purity between sessions. The aseptic technique principles behind these steps are well established and directly applicable to independent peptide work.
With ideal preparation and tools in place, the core contamination control techniques can be put into action.
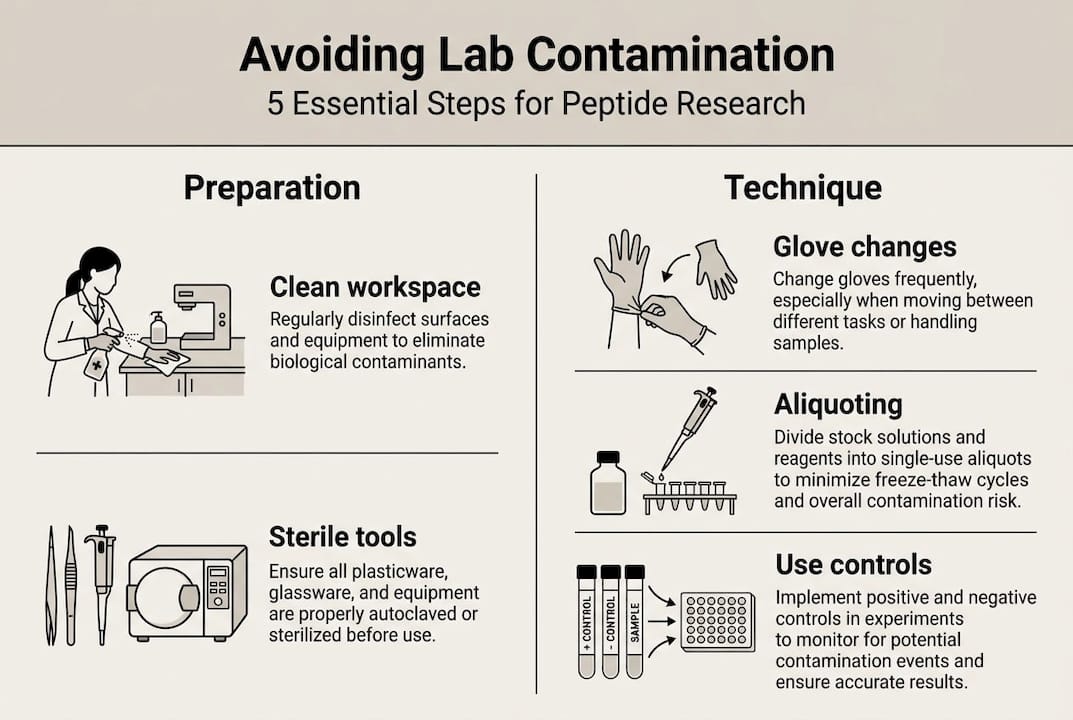
Step-by-step sterile techniques every lab must follow
Knowing the theory is one thing. Executing it consistently under real lab conditions is another. The following sequence reflects best practice for independent researchers handling peptide solutions, from the moment you enter your clean zone to the moment you dispose of waste.
Strict aseptic technique with PPE drops contamination rates to under 3%, making procedural discipline the most reliable contamination control tool available to any lab regardless of budget.
- Wash hands thoroughly before entering your clean zone, even if you plan to glove immediately afterward.
- Don fresh nitrile gloves and wipe them with 70% IPA before touching anything sterile.
- Disinfect all surfaces in your clean zone with 70% IPA and allow full contact time (at least 30 seconds) before placing any materials down.
- Wipe the tops of all vials with an IPA wipe before opening. This includes your reagent vials, not just sample vials.
- Never set pipette tips, vial caps, or sterile instruments on the bench. Keep them elevated or in their original sterile packaging until the moment of use.
- Minimize talking and movement during open-vial handling. Aerosols from speech are a real and underestimated contamination source.
- Work steadily, not quickly. Rushed movements increase the chance of touching non-sterile surfaces accidentally.
- Change gloves between batches and any time you touch a non-sterile surface, including your phone, notebook, or door handle.
- Dispose of all single-use items immediately after use. Do not leave used tips or open vials on the bench.
“Contamination prevention is not a single action. It is the cumulative result of every small decision made throughout a session.”
For deeper guidance on maintaining lab purity for peptide research and how to prepare safe peptide solutions, both resources offer practical protocols that complement this workflow directly.
Pro Tip: Keep a printed checklist at your clean zone. Cognitive load during active lab work is high, and even experienced researchers skip steps when relying purely on memory.
Even with robust techniques, independent researchers need to address high-risk scenarios and verification methods.
Troubleshooting, verification, and special precautions for peptide labs
Even with a solid protocol in place, contamination can still occur. Knowing how to detect it early and respond correctly is what separates researchers who lose one experiment from those who lose an entire project.
Signs that contamination has occurred:
- Cloudy or discolored solutions where clarity is expected
- Unexpected results that do not replicate across batches
- Growth or turbidity in negative controls
- Unusual readings in assays that previously produced consistent data
Peptide work must include negative controls and use highly pure (98%+) materials, because even 1% impurity can cause false results. This is not a precaution you can skip to save time or cost. It is the baseline for credible peptide data.
For quality control for reagents, the key principle is simple: never return unused reagent to the stock container. Once a reagent has been removed from its original sealed environment, treat it as potentially compromised. Aliquots prevent this problem by design.
| Verification method | What it detects | When to use |
|---|---|---|
| Negative controls | Environmental and reagent contamination | Every batch |
| Blank samples | Background signal in assay | Every assay run |
| Visual inspection | Particulates, cloudiness, color change | Before every use |
| Replicate testing | Batch-to-batch inconsistency | After any suspected event |
For hydrophobic peptides, solvent handling introduces additional risk. Organic solvents used for initial dissolution must be research-grade and handled in a clean zone, because trace impurities in the solvent transfer directly into your peptide solution. Decontaminate all glassware before use with a solvent rinse followed by IPA wipe-down.
The CDC contamination prevention framework emphasizes that verification steps are not optional quality extras. They are the mechanism by which you confirm your technique is actually working. Understanding sterility for peptide products in more depth will help you build verification into your standard workflow rather than treating it as a response to failure.
Many labs find success by learning from expert perspectives and tailoring protocols to their unique contexts.
Why most contamination advice misses independent lab realities
Most contamination guidance is written for institutional labs with dedicated biosafety infrastructure, autoclave access, and trained support staff. That context produces advice that sounds authoritative but is practically useless for a solo researcher working in a converted spare room or a small private facility in Europe.
The honest truth is that you do not need to replicate a hospital microbiology lab to achieve reliable results. What you need is to prioritize the interventions with the highest return. BSC or laminar flow investment matters more for independent researchers than most other SOP steps combined, because it addresses the dominant contamination pathway directly.
Institutional standards from bodies like CLSI, CDC, and WHO are reference points, not rigid prescriptions. Adapting them intelligently to your actual resource constraints is not cutting corners. It is good science. A researcher who uses single-use vials, maintains a strict clean zone, and runs negative controls consistently will produce more reliable data than one who follows a 40-step institutional SOP inconsistently because it was designed for a different context.
For independent European peptide users, the practical hierarchy is: clean zone first, single-use consumables second, rigorous aliquoting third, and documentation of every session fourth. Explore tailored contamination control approaches that reflect the realities of small-scale peptide research rather than institutional assumptions.
Get reliable labware for contamination-free research
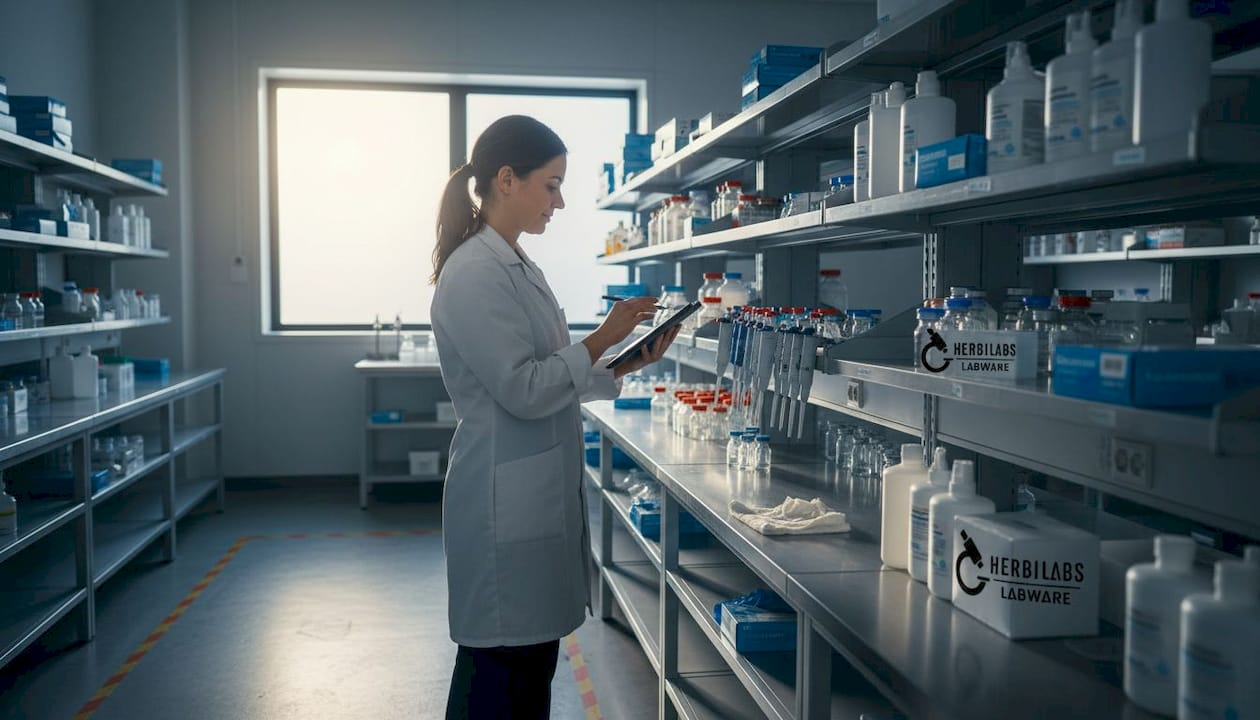
Applying the protocols in this guide is significantly easier when your labware and reagents are already validated for research-grade purity. Substandard materials undermine even the best technique, and sourcing from a supplier that prioritizes contamination control at the manufacturing level removes one of the most unpredictable variables from your workflow.

At Herbilabs, every product is manufactured to strict purity standards with rigorous quality control built into the process. Whether you need labware for peptide reliability or quality-checked reagents that meet the 98%+ purity threshold your experiments require, the range is designed specifically for independent researchers who cannot afford contamination failures. Explore the full catalog and build a supply chain that supports your contamination-free research goals from the first vial to the final result.
Frequently asked questions
What is the most common cause of lab contamination?
Airborne contamination leads all sources, accounting for over half of lab contamination cases. Working inside a biosafety cabinet or laminar flow hood is the most effective single countermeasure.
How do I ensure my peptide samples remain uncontaminated?
Use single-use vials, certified pure reagents, and include negative controls in every batch to catch contamination before it affects your results.
Are biosafety cabinets required for all independent labs?
While not legally required in most European jurisdictions, a BSC is strongly recommended for any work involving aerosols, open peptide solutions, or sensitive low-biomass samples.
What should I do if I suspect contamination in my experiment?
Stop the session, disinfect all surfaces and equipment, and retest using negative controls and fresh reagents before drawing any conclusions from the affected data.